How to Photograph Jewelry That Sells Online (2026 Guide)
Lighting, angles, and styling that turn a phone snap into a listing that converts, plus when to let AI do the work.
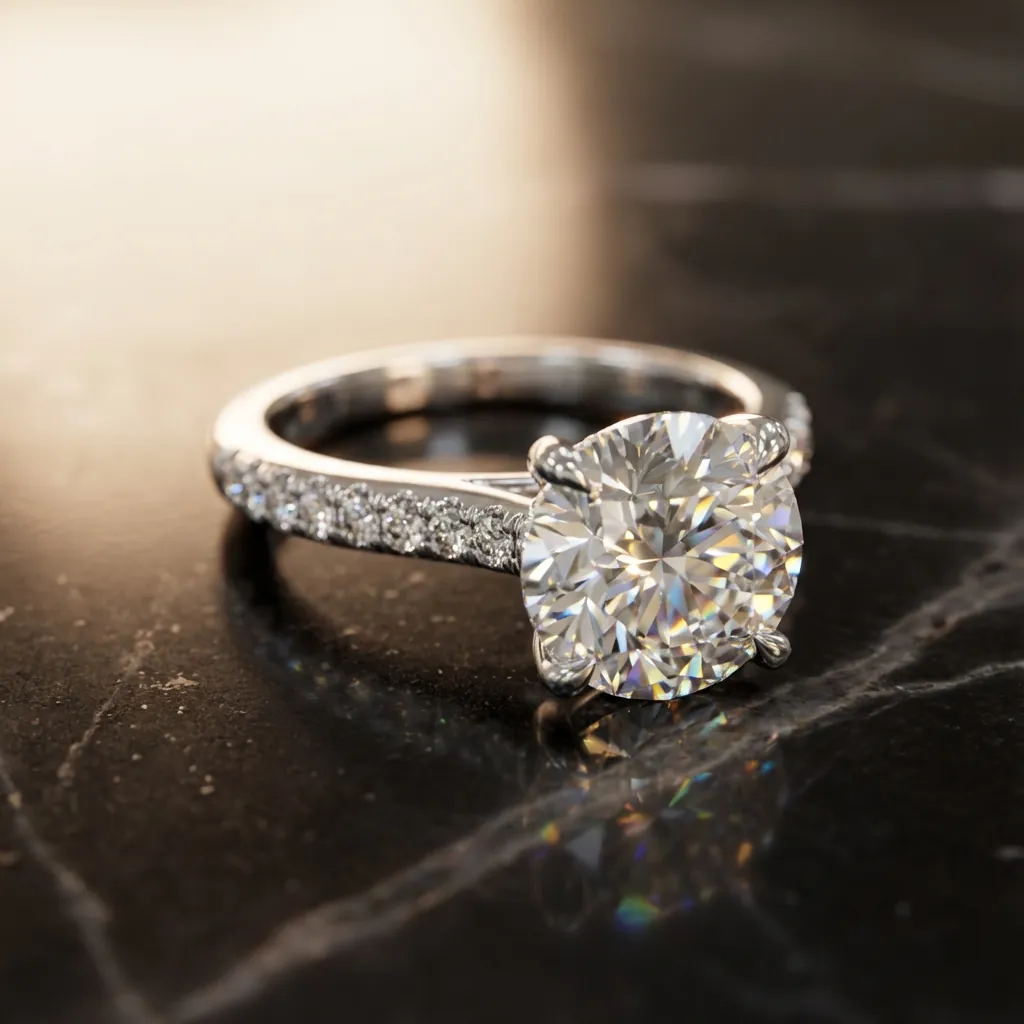
Online, the photo is the only thing a customer can judge a piece on. They cannot hold the ring, tilt it to the light, or feel the weight of the gold. The image has to do all of that for them. Get it right and a piece sells before anyone reaches your counter. Get it wrong and even a beautiful piece scrolls by unnoticed.
This guide walks through how to photograph jewelry that actually sells, from lighting and angles to the small styling details that separate a listing that converts from one that does not. It is written for jewelers, not studio pros, so every step works with what you already have on the counter.
Start with soft, even light
Hard light creates harsh shadows and blown-out hot spots on metal and stones. Soft, diffused light wraps around a piece and shows its true color and detail. The easiest source is a large window with indirect daylight. Place the piece a few feet back from the glass and avoid direct sun, which creates glare on facets.
- Shoot near a north-facing window for consistent, cool daylight.
- Diffuse harsh sun with a sheer white curtain or a sheet of tracing paper.
- Use a small white card opposite the light to bounce fill into the shadows.
- Turn off overhead store lights. Mixed color temperatures muddy the metal.
Control reflections on metal and stones
Polished gold and diamonds are mirrors. They reflect everything around them, including you and your phone. The goal is to reflect clean, bright surfaces rather than clutter. A simple light tent or even a folded sheet of white paper curved around the piece gives you smooth, controlled reflections that make metal look rich instead of busy.
For diamonds, a little contrast in the reflections is what creates sparkle. Pure white surroundings can leave stones looking flat and grey. A thin strip of black card placed just out of frame adds the dark facets that read as brilliance.
Get the angle and focus right
Most jewelry looks best shot slightly above and angled, not flat on. For rings, a three-quarter view shows the profile, the setting, and the stone in one frame. Keep the camera parallel to the piece to avoid distortion, and tap to focus on the most important detail, usually the center stone.
- Rings: three-quarter angle, focus on the center stone.
- Necklaces and pendants: shot flat or on a soft bust, chain laid in a gentle curve.
- Earrings: paired and symmetrical, hooks and posts tidy.
- Use your phone's 2x or 3x lens, not digital zoom, to avoid soft edges.
Nail white balance and keep it true
The single most common mistake is color. White gold that photographs warm and yellow, or a sapphire that shifts toward purple, breaks trust the moment the customer sees the real piece. Set a custom white balance using a grey card, or correct it later, but never ship an image where the metal color is wrong. Accuracy is not optional in fine jewelry.
Style the shot to match your brand
Once the technical fundamentals are handled, styling is what gives a photo a point of view. Decide whether your brand is clean and editorial, warm and lifestyle, or classic catalog, and keep it consistent across the catalog. A coherent feed looks far more valuable than a mix of one-off styles.
A consistent look across your catalog signals quality before a customer reads a single word.
When to let AI do the work
Doing all of this well, for every piece, every week, is a real job. Most jewelers do not have a studio, a light tent, and an afternoon per item. This is where AI product photography earns its place. Tools built for jewelry can take the plain counter shot you already have and turn it into clean catalog imagery or on-model lifestyle photography in seconds, while keeping the exact stone, metal, and setting intact.
The rule is simple. Your original photo stays the master. AI changes the lighting, background, and styling around the piece, never the piece itself. That lets you give every item studio-grade imagery without booking a shoot for each one.
Aurix was built for exactly this. Snap a piece on your counter, upload it, and get 4K imagery that is accurate to your design, ready to approve and publish. It is the fastest way to give a whole catalog the photography it deserves.